Introduction to error handling in Angular 7: Part 2 - HTTP error handling
You will need to have Node 11+, Node Package Manager version 6+, Angular CLI 7+ and Angular 7+ installed on your machine.
In this tutorial, you will be introduced to HTTP errors in JavaScript, and how to use the HttpClient with RxJS error handling operators and finally how to use the HttpInterceptor

This is a deep dive into HTTP error handling in Angular 7, you might want to check out the introductory post on error handling here.
Prerequisites
To be able to follow through in this tutorial’s demonstration you should have:
- Node version 11.0 installed on your machine.
- Node Package Manager version 6.7 (usually ships with Node installation).
- Angular CLI version 7.0
- The latest version of Angular (version 7)
    // run the command in a terminal
    ng version
Confirm that you are using version 7, and update to 7 if you are not.
Other things that will be nice-to-haves are:
- A working knowledge of the Angular framework at a beginner level.
- Familiarity with Angular services will be a plus but not a requirement.
Outsider errors
These are errors that we call server side errors because they mainly come from the outside the Angular application and an HttpErrorResponse is always returned anytime they occur. It has properties like:
- Error name: this states the name of the error.
- Error message: this tries to explain the error in simple terms for easier understanding.
- Error status: each type of server side error has a code assigned to it to differentiate it from the rest. These codes are usually three digit codes like 400 which, signifies the request sent was unexpected or 500 which, signals internal server error and so on.
Error handler in Angular
Angular has a global error handling class called errorHandler that provides a hook for centralized exception handling inside your application. It basically intercepts all the errors that happen in your application, and logs all of them to the console, and stops the app from crashing.
The syntax looks like this:
    class MyErrorHandler implements ErrorHandler {
      handleError(error) {
        // do something with the exception
      }
    }
    @NgModule({
      providers: [{provide: ErrorHandler, useClass: MyErrorHandler}]
    })
    class MyModule {}
This is a great way to handle errors in Angular, particularly the insider errors.
The limitation of errorHandler
If you followed from the introductory post here, you will see how the Angular errorHandler class was the ultimate solution to centralizing the try/catch concept of errors in our application. However, when we want to focus on server side errors, we discover that the errorHandler class cannot work directly with HTTP requests in our application. Good news is Angular provides a kind of interface where you can use the concept of the errorHandler class to deal directly with HTTP requests.
Solution 1: Angular HttpClient
The [HttpClient](https://angular.io/api/common/http/HttpClient) in @angular/common/``[http](https://angular.io/api/common/http) offers a simplified client HTTP API for Angular applications that rests on the XMLHttpRequest interface exposed by browsers. Additional benefits of [HttpClient](https://angular.io/api/common/http/HttpClient)include testability features, typed request and response objects, request and response interception, Observable APIs, and streamlined error handling. So using this client with some RxJS operators we can get a kind of try/catch way of error handling but this time directly communicating with the HTTP requests through an Angular application in a service. You will understand it better in action.
Demo

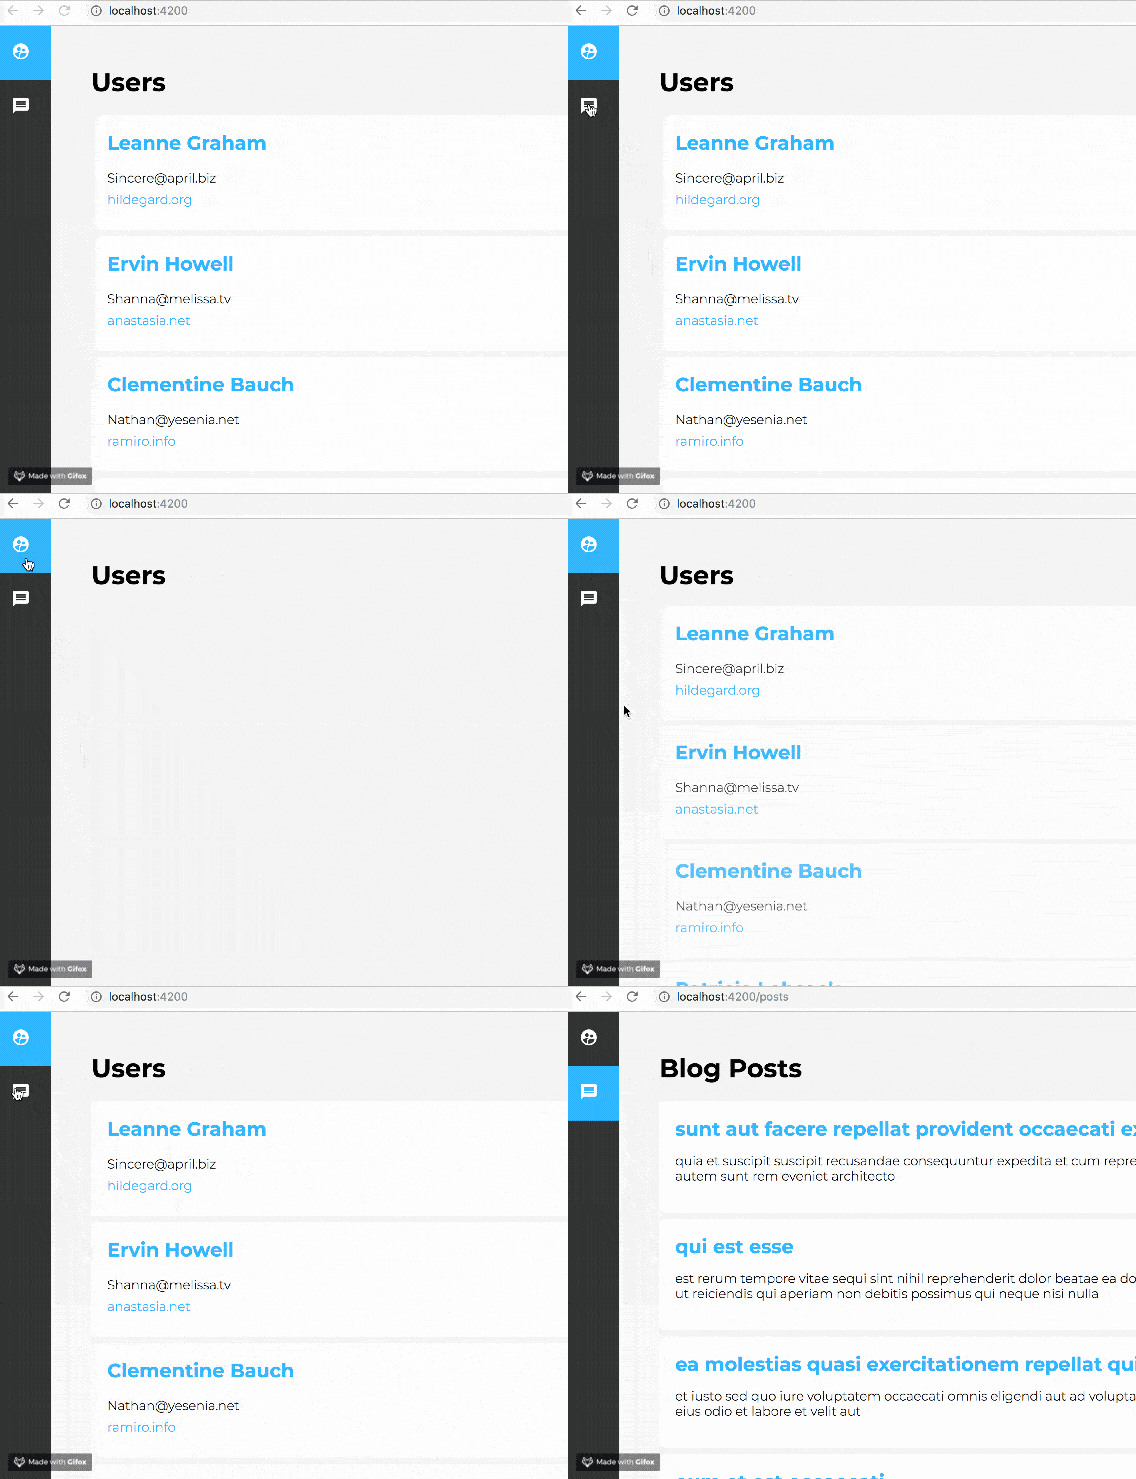
This is a demo jsonplaceholder application where parts of the available data on the jsonplaceholder is displayed on the user interface, a perfect service to demonstrate server related concepts. If you have all the prerequisites stated at the beginning of the post ready, you can download the project from GitHub here.
Unzip and open the project in VS Code and use the terminal to initialize the node modules:
npm install
Now that your application is up and running, you have to first and foremost ensure that the module required for Angular applications to use any server service is active in your application. Navigate to your app.module.ts file and confirm that there is an import statement like this:
import { HttpClientModule } from '@angular/common/http';
Your application has four components: posts, sidebar, details and users. It also has a service called data service where all the HTTP requests are made. Your data.service.ts file should look like this:
    // src/app/services/data.service.ts
    import { Injectable } from '@angular/core';
    import { HttpClient } from '@angular/common/http';
    @Injectable({
    providedIn: 'root'
    })
    export class DataService {
     constructor(private http: HttpClient) { }
     getUsers() {
      return this.http.get('https://jsonplaceholder.typicode.com/users')
     }
     getUser(userId) {
      return this.http.get('https://jsonplaceholder.typicode.com/users/'+userId)
     }
     getPosts() {
      return this.http.get('https://jsonplaceholder.typicode.com/posts')
     }
    }
Three requests are being made to the server, now if you pick one of these requests, say getUsers() and you want to add error handling with the HttpClient then you will:
- Import the catchError object from RxJS operators.
- Import throwError from RxJS.
- Use the pipe method to introduce it in the desired HTTP request.
- Create a method to handle the error
If you follow these, your data.service.ts file will look like this:
    // src/app/services/data.service.ts
    import { Injectable } from '@angular/core';
    import { HttpClient, HttpErrorResponse } from '@angular/common/http';
    import { catchError } from 'rxjs/operators'
    import { throwError } from 'rxjs';
    @Injectable({
    providedIn: 'root'
    })
    export class DataService {
    constructor(private http: HttpClient) { }
    getUsers() {
    return this.http.get('https://jsonplaceholder.typicode.com/usssers')
    .pipe(
    catchError(this.handleError)
    );
    }
    getUser(userId) {
    return this.http.get('https://jsonplaceholder.typicode.com/users/'+userId)
    }
    getPosts() {
    return this.http.get('https://jsonplaceholder.typicode.com/posts')
    }
    handleError(error: HttpErrorResponse){
    console.log("lalalalalalalala");
    return throwError(error);
    }
    }
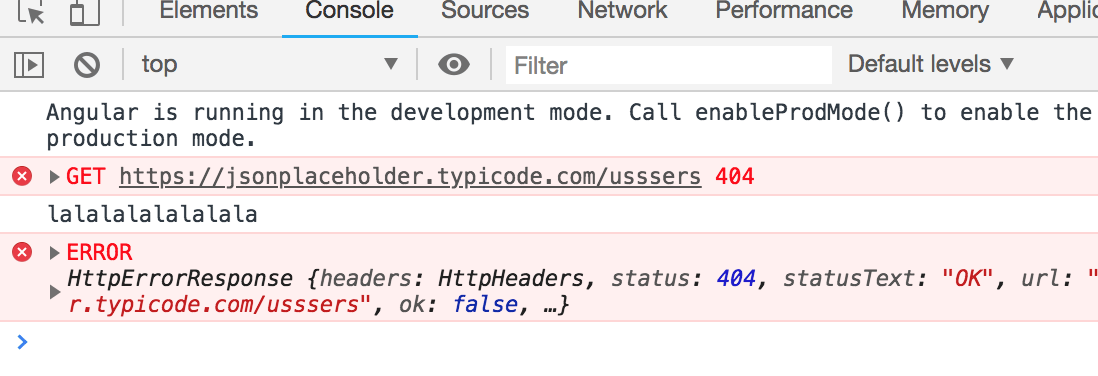
You will see that the get request was deliberately tampered with to ensure an error occurs. When you run the application, you will see the error logged with the log message we want.

Sometimes when you send a request to a well known slow server, you know it might take a while to get response or take a few tries to actually get response from the server, you can resend the request a number of times before throwing the error.
This can be achieved with the retry method in RxJS, so you import the retry operator then you can use it inside the pipe like it is used below:
    // src/app/services/data.service.ts
    import { Injectable } from '@angular/core';
    import { HttpClient, HttpErrorResponse } from '@angular/common/http';
    import { catchError, retry } from 'rxjs/operators'
    import { throwError } from 'rxjs';
    @Injectable({
    providedIn: 'root'
    })
    export class DataService {
    constructor(private http: HttpClient) { }
    getUsers() {
    return this.http.get('https://jsonplaceholder.typicode.com/usssers')
    .pipe(
    retry(2),
    catchError(this.handleError)
    );
    }
    getUser(userId) {
    return this.http.get('https://jsonplaceholder.typicode.com/users/'+userId)
    }
    getPosts() {
    return this.http.get('https://jsonplaceholder.typicode.com/posts')
    }
    handleError(error: HttpErrorResponse){
    console.log("lalalalalalalala");
    return throwError(error);
    }
    }
If you run the application, the console should look like this:

You see it first tries to get the response, then retries it twice just as we specified before throwing the error log message.
It is also very important that your retry comes before the catchError so that the error message is not logged after every trial.
This solution works perfectly so long as your application has one service and probably one get request, but when your application is big and has many services or a lot more requests per service it becomes an inefficient solution. This is because you have to always copy the handle error function across services and repeat code even within a service. Imagine the memory cost of debugging and maintaining the codebase.
The best option: Angular HttpInterceptor
Just like the name says, Angular provides an interface called the HttpInterceptor that can intercept [HttpRequest](https://angular.io/api/common/http/HttpRequest) and [HttpResponse](https://angular.io/api/common/http/HttpResponse) and creates a platform to handle them. This means we get direct access to our server requests, what better place to deal with server errors than here!
The syntax looks like this:
    interface HttpInterceptor {
    intercept(req: HttpRequest<any>, next: HttpHandler):   Observable<HttpEvent<any>>
    }
To use the HttpInterceptor , create a new service where you want your interceptor logic to go in with the Angular CLI:
ng generate service services/interceptor
Now you have generated an interceptor service, navigate to your app.module.ts file to register it accordingly, like this:
    // src/app/app.module.ts
    import { BrowserModule } from '@angular/platform-browser';
    import { NgModule } from '@angular/core';
    import { AppRoutingModule } from './app-routing.module';
    import { AppComponent } from './app.component';
    import { UsersComponent } from './components/users/users.component';
    import { DetailsComponent } from './components/details/details.component';
    import { PostsComponent } from './components/posts/posts.component';
    import { SidebarComponent } from './components/sidebar/sidebar.component';
    import { HttpClientModule, HTTP_INTERCEPTORS } from '@angular/common/http';
    import { BrowserAnimationsModule } from '@angular/platform-browser/animations'
    import { InterceptorService } from './services/interceptor.service';
    @NgModule({
    declarations: [
    AppComponent,
    SidebarComponent,
    PostsComponent,
    DetailsComponent,
    UsersComponent
    ],
    imports: [
    BrowserModule,
    AppRoutingModule,
    HttpClientModule,
    BrowserAnimationsModule
    ],
    providers: [
    {
    provide: HTTP_INTERCEPTORS,
    useClass: InterceptorService,
    multi: true
    }
    ],
    bootstrap: [AppComponent]
    })
    export class AppModule { }
Next step is to get rid of all the error handling logic in the data.service.ts file, the file should look like this when you are done:
    // src/app/services/data.service.ts
    import { Injectable } from '@angular/core';
    import { HttpClient } from '@angular/common/http';
    @Injectable({
    providedIn: 'root'
    })
    export class DataService {
    constructor(private http: HttpClient) { }
    getUsers() {
    return this.http.get('https://jsonplaceholder.typicode.com/usersss')
    }
    getUser(userId) {
    return this.http.get('https://jsonplaceholder.typicode.com/users/'+userId)
    }
    getPosts() {
    return this.http.get('https://jsonplaceholder.typicode.com/posts')
    }
    }
Copy the code below into the interceptor.service.ts file:
    // src/app/services/interceptor.service.ts
    import { Injectable } from '@angular/core';
    import {
    HttpInterceptor, HttpRequest,
    HttpHandler, HttpEvent, HttpErrorResponse
    } from '@angular/common/http';
    import { Observable, throwError } from 'rxjs';
    import { catchError } from 'rxjs/operators';
    @Injectable({
    providedIn: 'root'
    })
    export class InterceptorService implements HttpInterceptor{
     constructor() { }
     handleError(error: HttpErrorResponse){
      console.log("lalalalalalalala");
      return throwError(error);
     }
    intercept(req: HttpRequest<any>, next: HttpHandler):
    Observable<HttpEvent<any>>{
     return next.handle(req)
     .pipe(
      catchError(this.handleError)
     )
     };
    }
If you run the application, you can see that it logs our error message and throws the error just as we expect. This is the best method of handling server errors in your Angular project. You can test all the three requests at once for errors by tampering with them. When you do, you will find out that the interceptor catches all of them and logs our message for each, it is really amazing to watch.
Conclusion
You have been introduced to various ways to handle server side errors in your Angular applications. You have also seen when to use and when not to use the HttpClient with the RxJS operators and how the best way is using interceptors. In the next tutorial in this series, you will be introduced to error tracking. The complete code for this tutorial is on GitHub and can be found here. Happy coding!
31 July 2019
by Lotanna Nwose