Getting started with webpack - Part 1: Introduction
You will need Node 6.11.5+ installed on your machine.
Webpack might seem daunting to get into at first, especially if your first encounter with it is within an already configured project.
In this tutorial series, we will be looking at webpack from scratch so it won’t be as confusing as looking at an already configured webpack file. We will proceed using mini projects so you can understand the basics of webpack and how it can be beneficial in your project.
If you are into web development, you must have, at some point, heard about webpack. Webpack is a module bundler that is used during development. It can take your modules and bundle them into static assets seamlessly.
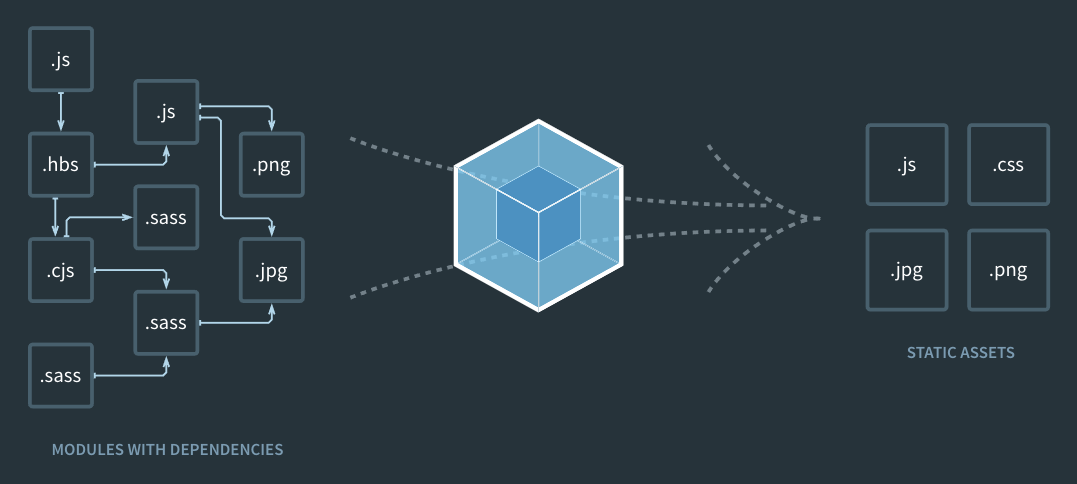
As seen from the image above, we have several modules with dependencies on the left and when they are run through webpack, they are compiled down more familiar assets like js, css, jpg, and .png. However, this is not all webpack can do. Webpack is a very robust bundler and it is extensible, thus, it can do a whole lot.
Let’s get started.
Source code for the application is available on GitHub.
Prerequisites
To follow along in this series, you need the following requirements:
- Basic knowledge of JavaScript.
- Basic knowledge of the CLI.
- A text editor. VS Code is recommended.
- Node.js (>=6.11.5) and npm installed locally. See next section on how to install if you haven’t.
Let’s get started with the series.
Installing Node.js and npm
In case you have not already installed Node.js and npm on your local machine, let’s do so. If you have it installed, then you can skip this part of the tutorial.
There are many resources on how to install Node.js on your machine so links will be posted below on how you can install Node.js, choose any of the following:
- Download the Node.js installer here.
- Install Node.js using a package manager.
- Install Node.js using NVM (Node Version Manager).
NVM is the recommended way to install Node.js as it allows you have multiple versions of Node.js installed on your machine. It also allows you switch seamlessly between the installed versions.
Creating your first app using webpack
Now that you have Node.js and npm installed on your local machine, let’s create a simple web application and compile it using webpack.
To get started, create a new project directory called sample. This is where we will add all the code for the app. In the project directory, create a new directory called src and inside that directory, create a new file index.js and paste the following code into the file:
    // File: ./src/index.js
    alert('Hello');
This is a simple alert that we will just use to test and see if webpack will compile the application.
Next, run the following command in the root directory of your application:
$ npm init -y
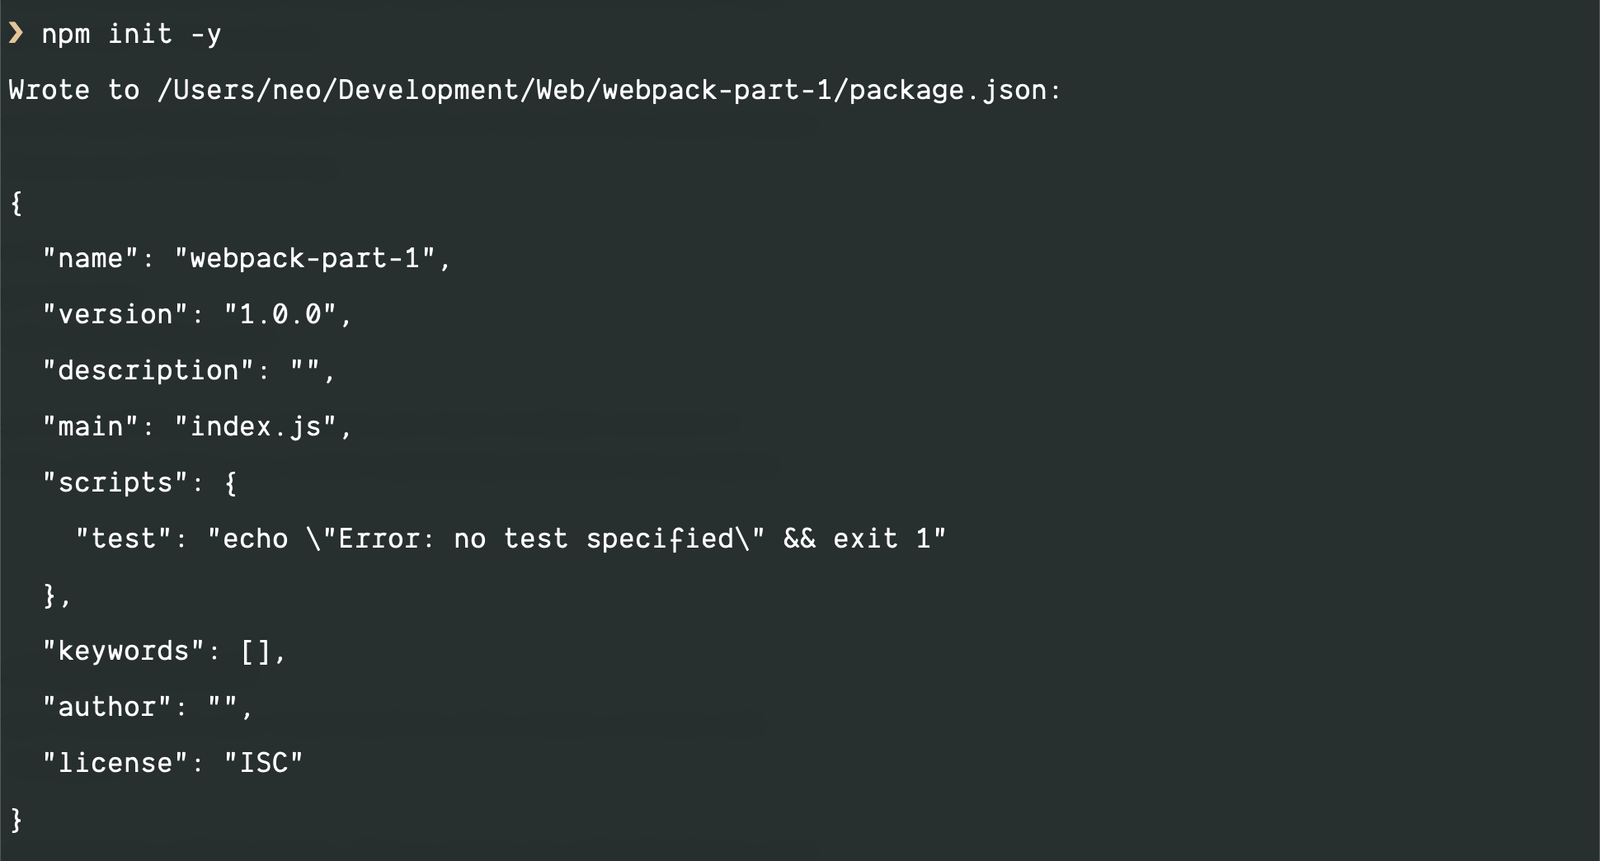
This will create a package.json file in the root directory of the project. Next, let’s install webpack to the project. There are two ways you can install webpack: globally or locally (per project). In this tutorial, we will be installing it locally.
In your terminal, run the following command to install webpack:
$ npm install webpack webpack-cli -D
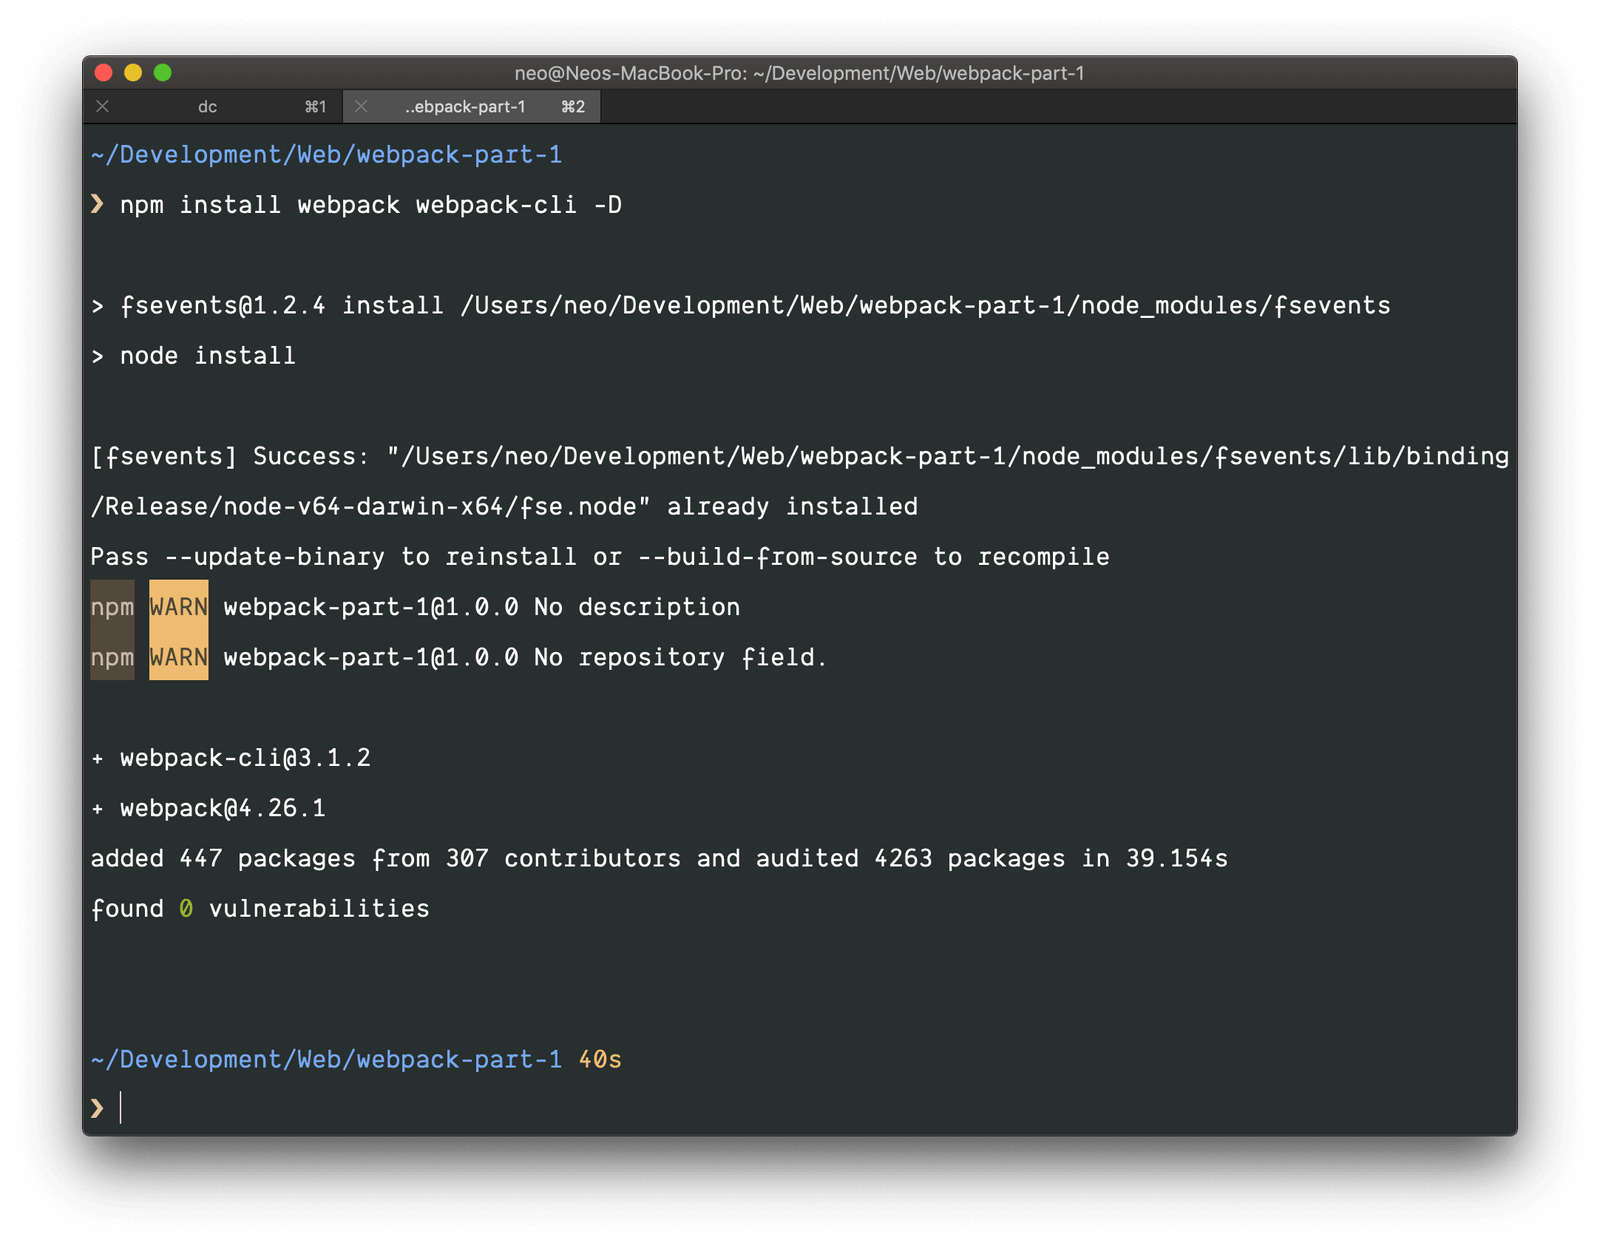
After the installation is complete, you will see that both webpack and webpack-cli have been added to the devDependencies list in the package.json file. As of the time of writing, the current version of webpack is version 4.x.
Your package.json file should look similar to this:
    // File: ./package.json
    {
      "name": "webpack-part-1",
      "version": "1.0.0",
      "description": "",
      "main": "index.js",
      "scripts": {
        "test": "echo \"Error: no test specified\" && exit 1"
      },
      "keywords": [],
      "author": "",
      "license": "ISC",
      "devDependencies": {
        "webpack": "^4.26.1",
        "webpack-cli": "^3.1.2"
      }
    }
In the package.json file replace the main key on line 6 with private and set its value to true:
    // File: ./package.json
    {
      "name": "webpack-part-1",
      "version": "1.0.0",
      "description": "",
      "private": true,
      "scripts": {
        "test": "echo \"Error: no test specified\" && exit 1"
      },
      "keywords": [],
      "author": "",
      "license": "ISC",
      "devDependencies": {
        "webpack": "^4.26.1",
        "webpack-cli": "^3.1.2"
      }
    }
Setting private to true makes it impossible to mistakenly publish the application to the npm directory.
Next, run the following command in the terminal:
$ node_modules/.bin/webpack src/index.js -o dist/bundle.js
The command above will bundle src/index.js into dist/bundle.js.
If you installed webpack globally, you can just replace
node_modules/.bin/webpackin the command above withwebpack. You can also use thenpxpackage that comes by default with npm > v5 using this command:npx webpack src/index.js -o dist/bundle.js.
Now inside the dist directory, create a new index.html file and paste the following code into it:
    <!-- File: ./dist/index.html -->
    <!DOCTYPE html>
    <html lang="en">
      <head>
        <meta charset="UTF-8" />
        <meta name="viewport" content="width=device-width, initial-scale=1.0" />
        <meta http-equiv="X-UA-Compatible" content="ie=edge" />
        <title>Webpack Sample</title>
      </head>
      <body>
        <h1>Hello</h1>
        <script src="./bundle.js"></script>
      </body>
    </html>
Now, open the index.html file in your browser of choice and you should see the following output:
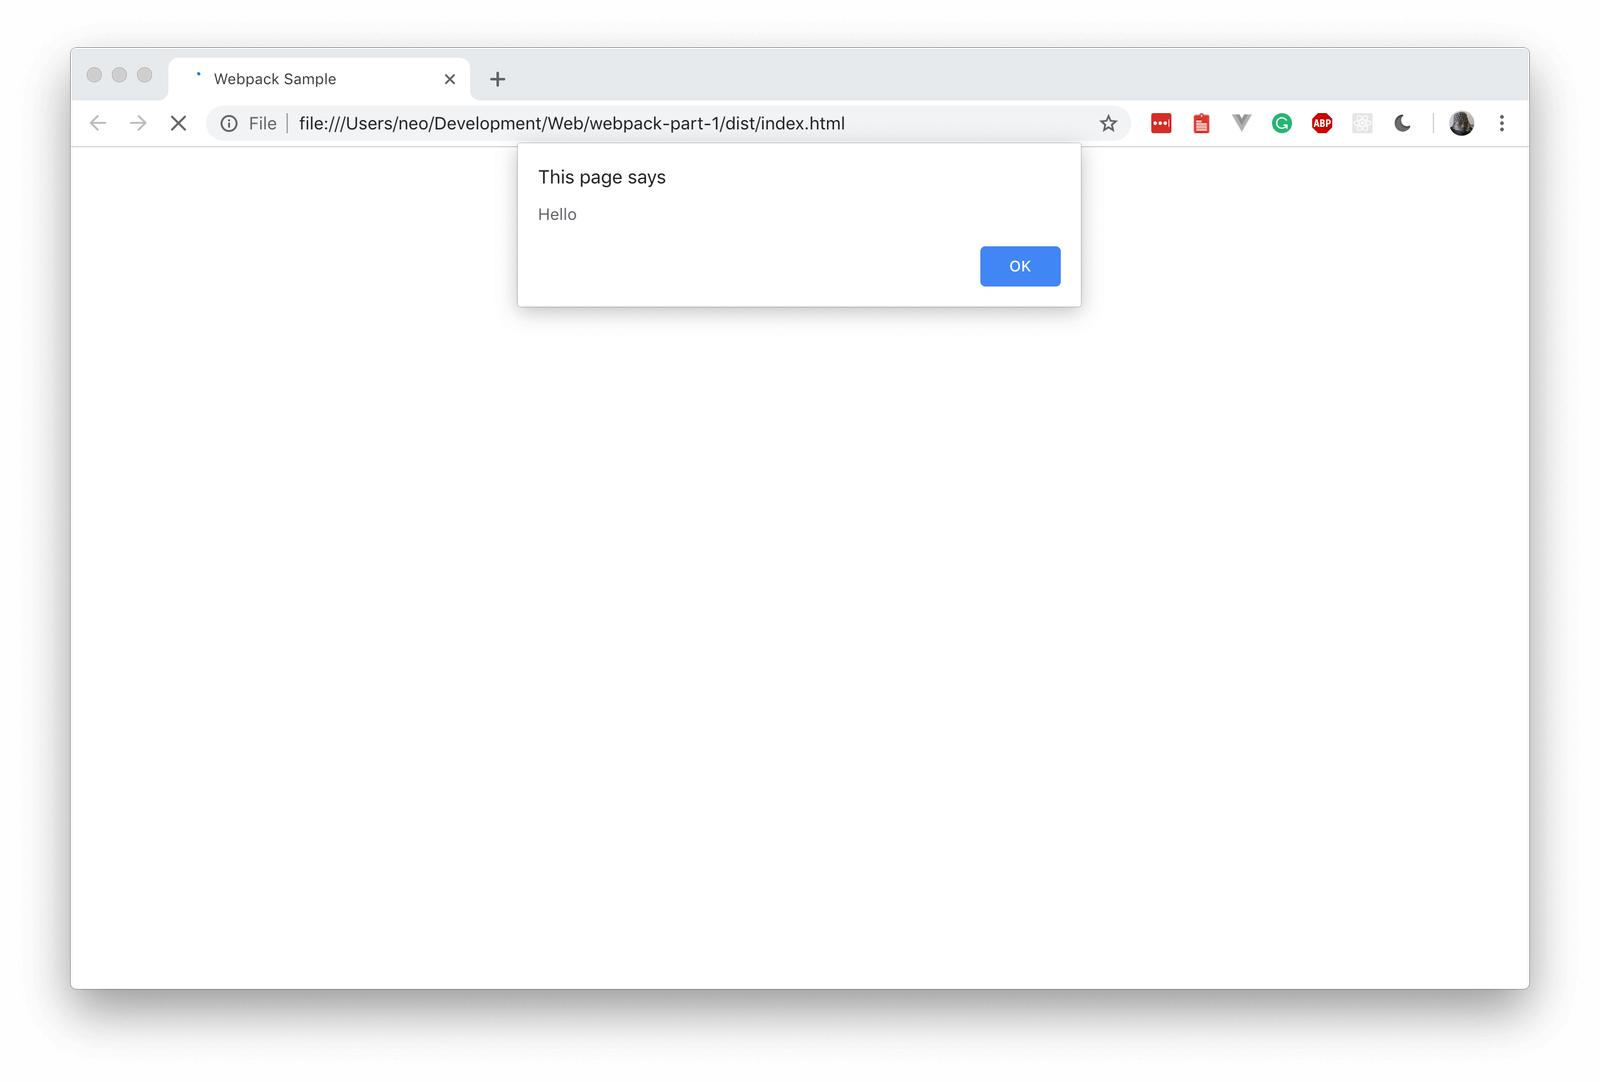
As seen, the JavaScript we created and bundled using webpack was run successfully in the browser.
Serving the application using Node.js
Now that we have the application showing, let’s set up a simple Node.js server so we can easily access the page using a localhost address.
In the dist directory, create a new server.js file and paste the following code into the file:
    // File: ./dist/server.js
    const express = require('express');
    const app = express();
    const path = require('path');

    app.get('/bundle.js', (req, res) => {
        res.sendFile(path.join(__dirname + '/bundle.js'));
    });

    app.get('/', (req, res) => {
      res.sendFile(path.join(__dirname + '/index.html'));
    });

    const port = 3000;
    app.listen(port, () => console.log(`Example app listening on port ${port}!`));
Now cd to the dist directory and run the following commands in the terminal:
    $ npm init -y
    $ npm install express --save
The above commands will:
- Initialize npm by creating a
package.jsonfile. - Install the Express package.
When the installation is complete, run the following command to start the Node.js server:
$ node server.js

This will start a new Node.js server and the application will now be available on http://localhost:3000.
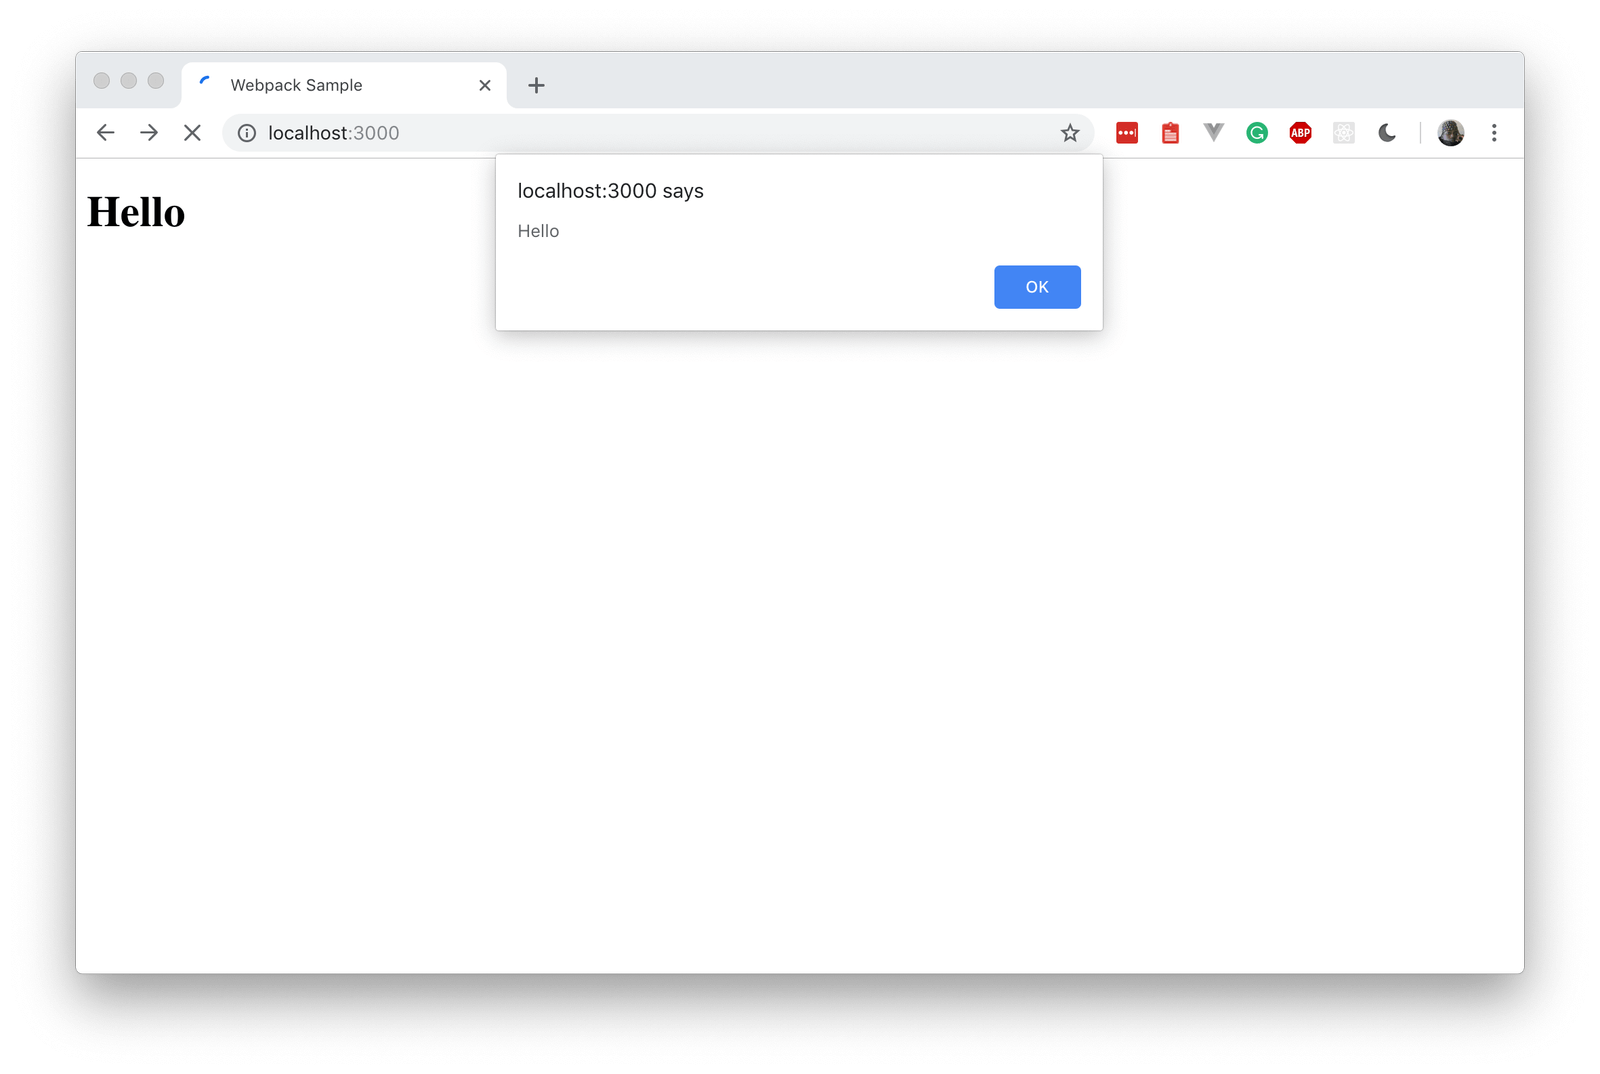
Now that we have the application running on our Express web server, let’s look at some ways we can improve our development process.
Improving our development process
As it stands, every time we make a change to the src/index.js file, we have to run the long command to instruct webpack to bundle the JavaScript. Let’s make the command a little shorter.
Using npm scripts to make commands shorter
If you take a look at the package.json file in the root directory, you will see a scripts object with a test key. We can add custom scripts to this list and then call them with the npm run script-name command. We can take advantage of this feature to make the webpack command a little easier to remember.
Open the package.json file and replace the scripts value with the following:
    // File: ./package.json
    {
      // [...]

      "scripts": {
        "build": "webpack src/index.js -o dist/bundle.js --mode=development"
      },

      // [...]
    }
As seen above, we have added the build key with the command we want to run. In this case, it’s the command to run the webpack bundler.
When specifying commands in the scripts section, we can omit the
node_modules/.binpart of the command as npm is intelligent enough to check there first.
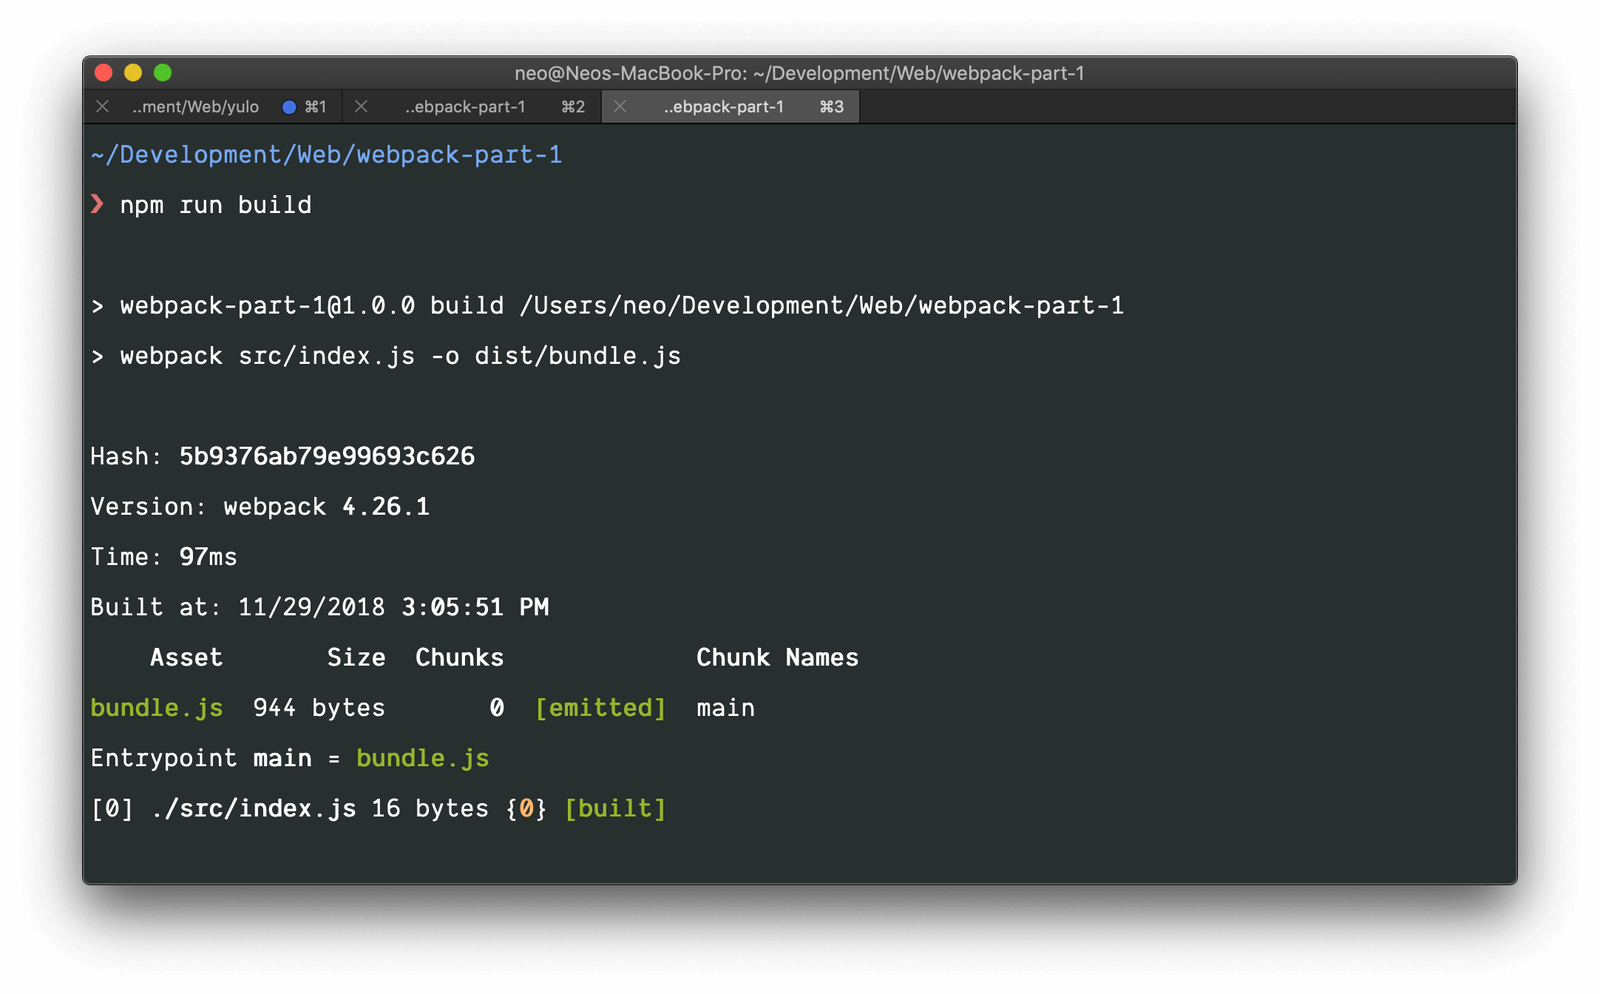
Now, anytime you update the src/index.js file and want to build it using webpack, all you need to do is run this command from the root of the project:
$ npm run build
This will build the webpack application just as it did before.
But wait, there’s more.
Automatically building the script when it’s updated
As it stands, we still have to manually run the npm run build command every time we update the script. This can get tiring quickly.
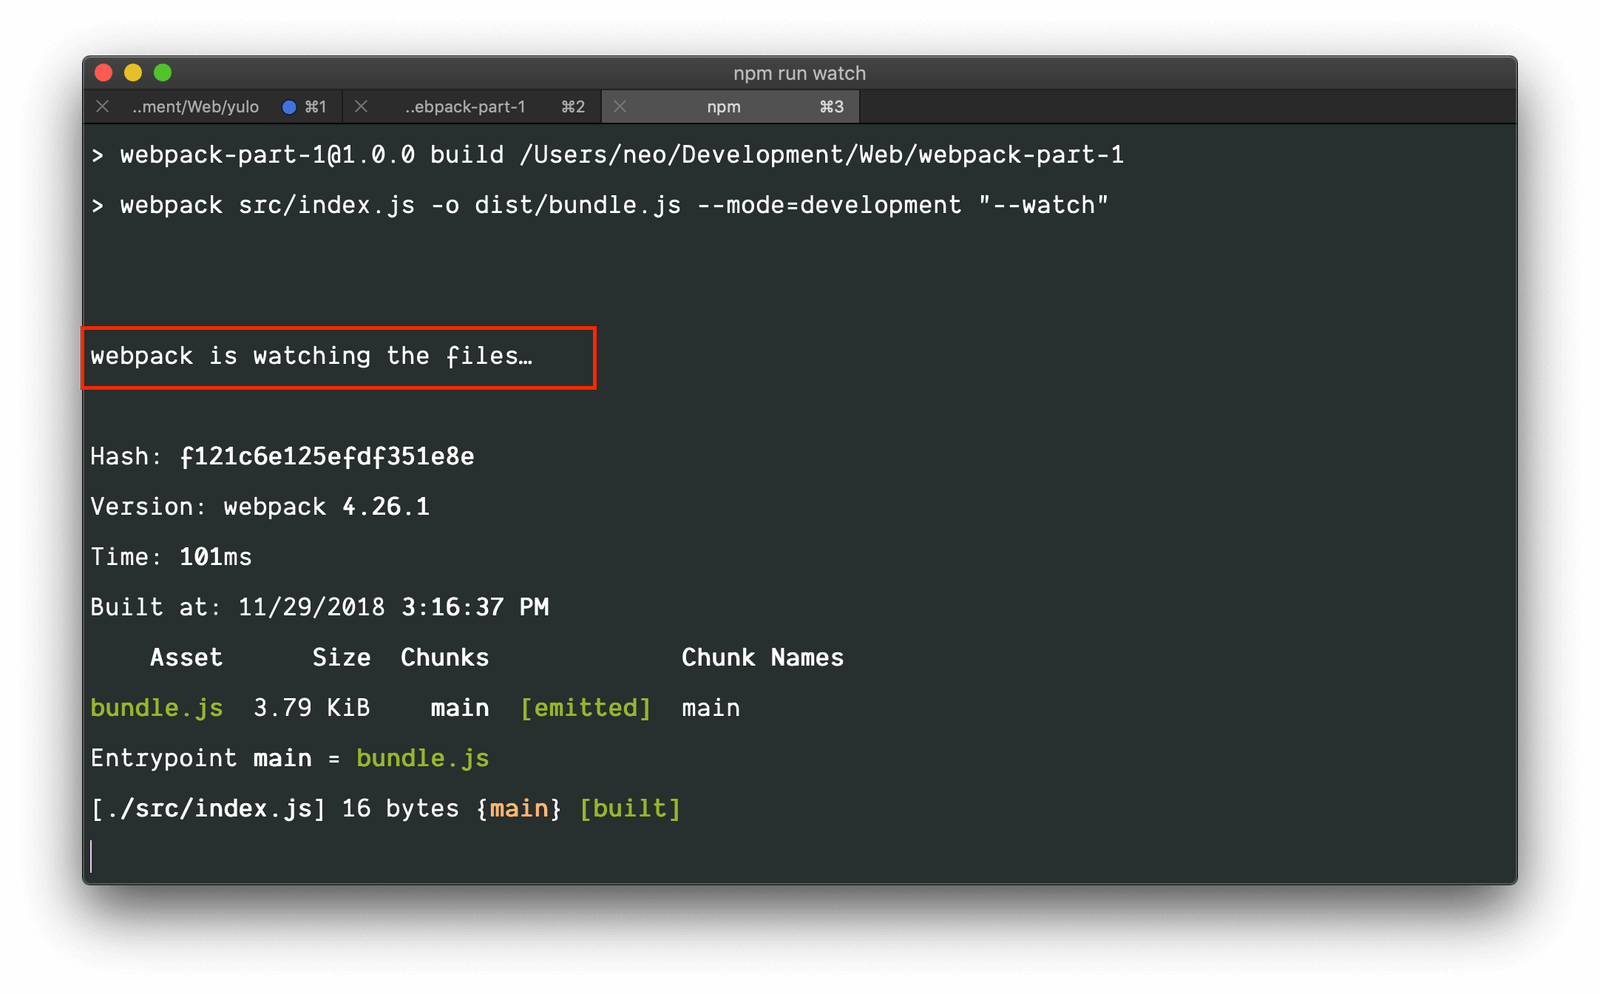
To remedy this, webpack comes with a --watch flag. This flag will keep the terminal active and watch for changes in the filesystem. When it finds changes, it will run the webpack bundler again automatically.
Open the package.json file again, and this time, let’s add a new flag to the scripts:
    // File: ./package.json
    {
      // [...]

      "scripts": {
        "build": "webpack src/index.js -o dist/bundle.js --mode=development",
        "watch": "npm run build -- --watch"
      },

      // [...]
    }
Above, we added a watch script to the scripts. However, we are not entering the entire webpack command again, instead, we are using the existing build command and adding the --watch flag to it.
We added the extra
--because npm requires it to pass extra arguments. See explanation here.
Now, we can run the command below to bundle the script and rebundle every time the script is changed:
$ npm run watch
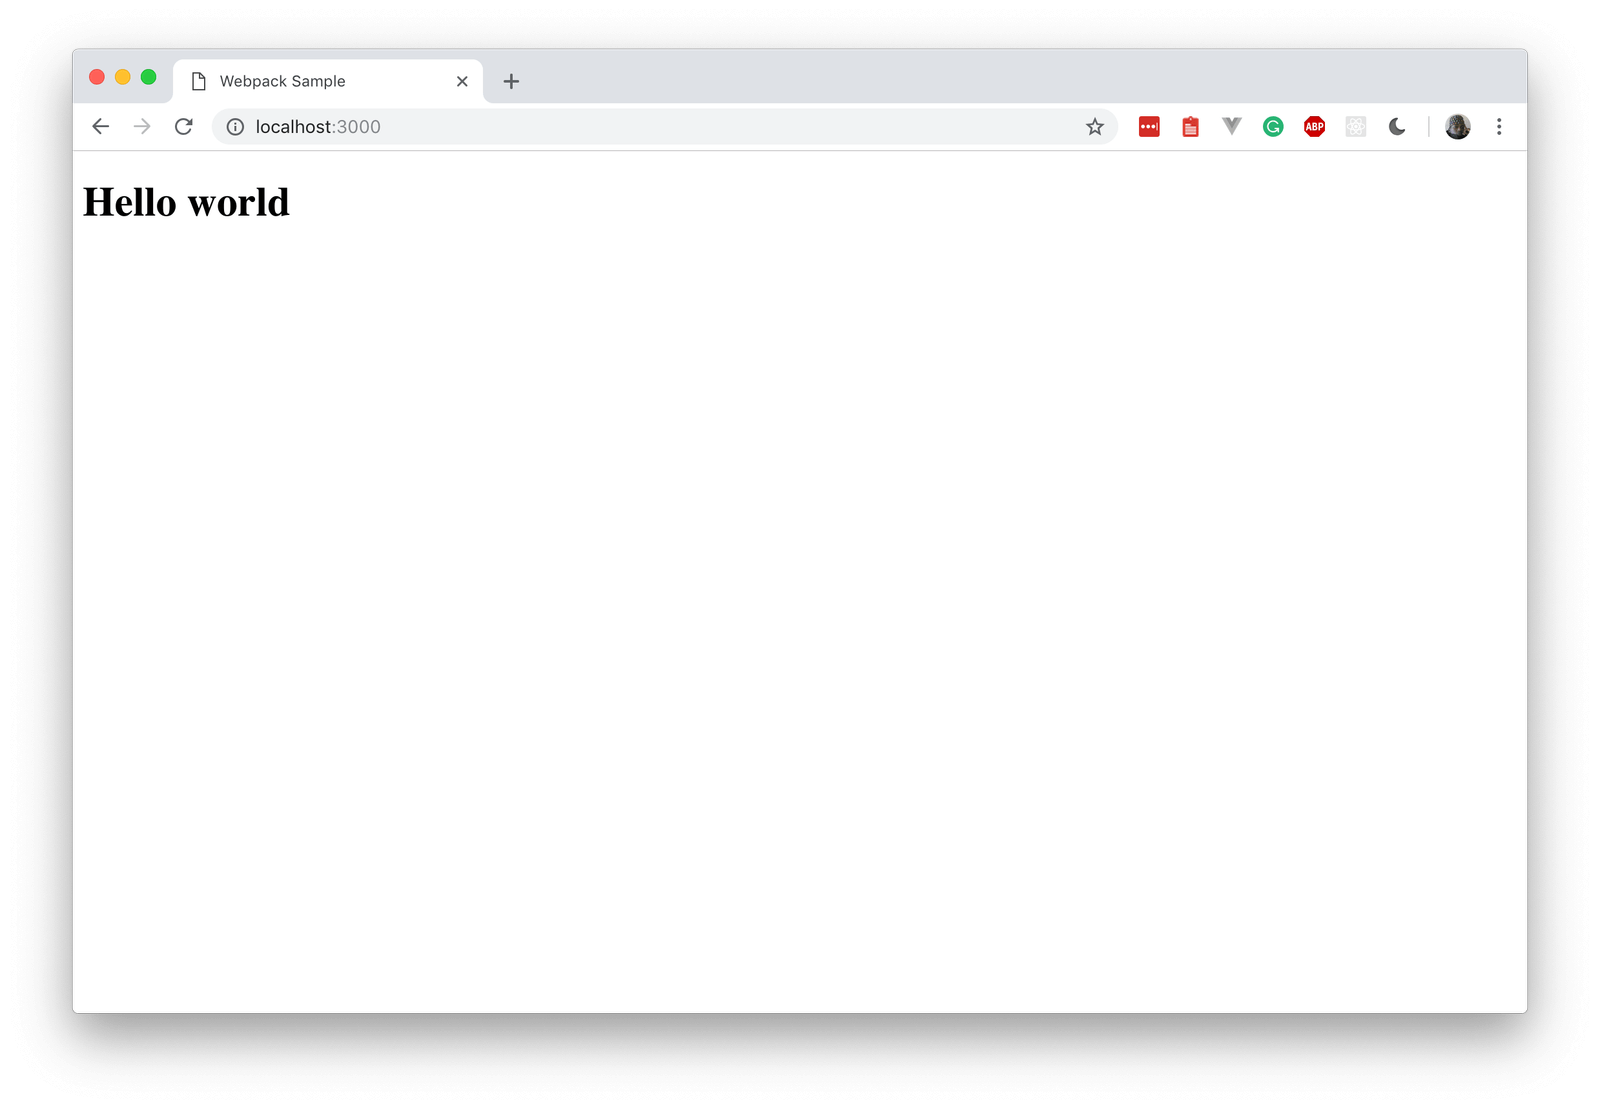
Now, while the watch command is running and the node dist/server.js command is also running, let’s update the script and see if it recompiles. Open the src/index.js file and update the contents to the following:
    // File: ./src/index.js
    document.addEventListener('DOMContentLoaded', function () {
      window.setTimeout(function () {
        document.getElementsByTagName('h1')[0].innerHTML = 'Hello world'
      }, 1000);
    });
When you save, the script should automatically recompile and you should see the changes when you look at http://localhost:3000.
Conclusion
In this part of the series, we have learned the very basics of webpack and how we can get started without any configuration at all. However, webpack is a lot more powerful than this. We will dive a little deeper in the next part.
The source code to this application is available on GitHub.
31 January 2019
by Neo Ighodaro